Show me how to use a typical 21st Century Accounting data entry window.
Follow these steps:
- Double-click the zebra icon on your desktop to start up 21st Century Accounting and use the Guest password to log in.
- Run System/Company/Select and double-click Netcon (the sample company) in the Select Company window.
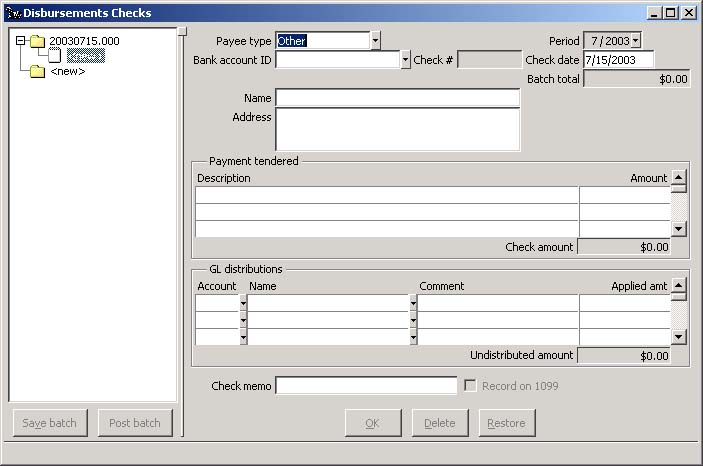
- Run Bank Accounts/Disbursements Checks.
The empty left pane shows you that there are no existing, unposted batches of Disbursements.
-
Batch options window.
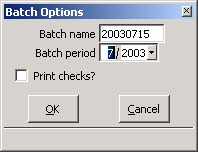
All data entry modules that create transaction batches start with a Batch options window. In all Batch options windows, you establish the posting period and name for the batch, both of which initially default to today's date. You can select any open period for posting and name the batch anything you like, up to eight characters.
The Disbursements Checks Batch options window also lets you print the disbursements checks or simply enter and post after the fact.
- Payee type. Click the little arrowhead beside the Payee type field (or press Alt+Down Arrow) to see to whom Disbursement Checks are paid. Select Other. and press Tab to move to the next field.
- Bank account ID. You can type an entry without using the Selector List if you already know what goes in a field. At Bank account ID, type 01.
-
Check date. In data entry windows, the default transaction date is the default date.
You can enter the date from the transaction's document
of origin (invoice, statement, PO, check, and so forth)
to help identify the transaction for reporting.
You can change the Transaction date to any date in an open period. Ignore the warning message if you really want to post the check amount to an open period that doesn't include the check date.
Use the Plus (+) and Minus (-) keys to change the date forward and back one day at a time. Use the Ctrl+Plus and Ctrl+Minus keys to change the month forward and back.
Press Tab to accept the Check date.
- Name and Address. Enter the payee's name, Perfect Plumbing, to print on the check and skip the optional address. Press Tab at each field.
- Description. Enter a description and amount for the goods or services you are paying for. For this lesson, type Plumbing repairs, press Tab, and enter the amount, 172.50. Press Tab.
- GL distributions. Now you distribute the expense. Select the account 6400-00 Equipment Repairs and Tab through the Comments and Applied Amt fields to automatically distribute the full amount to the account.
- Check memo. Text you enter at this field prints on the check. Tab through to leave it blank.
-
OK. Click the OK button or press Enter to save the entry.
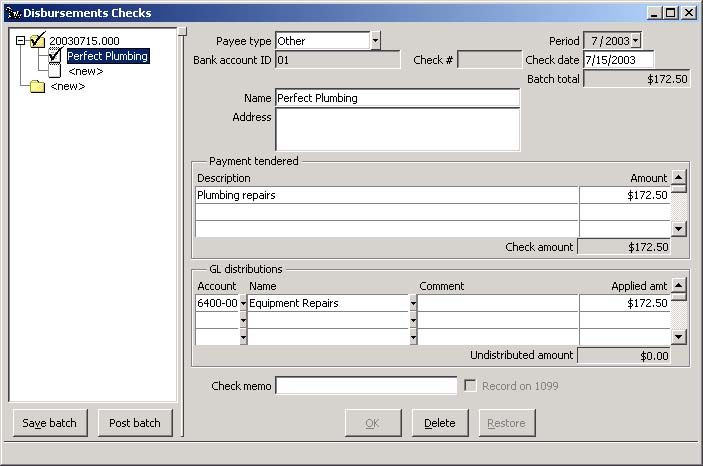
Your Disbursements Checks window
should look like this:
-
Post batch. Click the Post batch button to print and post the check.

- Print. Make sure plain paper is in your printer. For a real check run, of course, you would make sure that check forms are in the printer. Review the Starting check number, the Payee, and the check amount. Click the Print button to print this sample check.
- Did all checks print properly? When the check is correctly printed, you click Yes in this window to post the check data.
- You can print a check register for this batch of checks for your records.
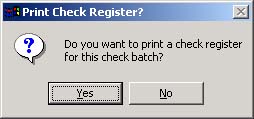
Click No.
- The Disbursements Checks window reappears for more data entry. Press Esc or click the X in the upper right corner to close the window.
Press Tab at Batch period, and click or press the Spacebar at the Print Checks? box to check the box. We will print this sample data check on plain paper.
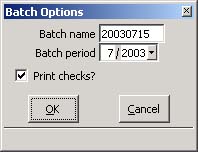
Click OK. The cursor moves into the data entry window.
Back to Tutorial List